We have spent the last few weeks putting mud up on the east wall - the most deteriorated of the walls. This is dirty, heavy work which is quite backbreaking and exhausting. We have tried to relieve the pressure on the two of us by hiring a number of men from the city’s labor pool, but we have yet to find one we can really train to deal with the properties of this mud in the span of only a few days. The problem is that mud which is to stitch the wall must be smooth in texture, evenly mixed and not too moist – nor too dry. You see how hard it is to explain.
First moisten the surface you wish to apply mud to. Spray gently. Direct spray can begin erosion especially in drying mud layers from yesterday or the day before.
Then shovel a dozen shovels full of sifted dirt into a trough and mix with water until the mixture is like (?what?) mud. It must be smooth, even, and consistently moist. Too dry produces dry spots which will flake off while or soon after being applied. Too moist will not hold.
The reason I am describing this here is because any house requires yearly maintenance and the mud house will require annual springtime re-mudding and you need to know how.
Some prefer a pointed trowel and others a flat but whichever when your mud is ready let the mess stand for about 20 minutes to “molt”. It’s hard to explain, but somehow if you let the mud mixture stand after preparation the water absorbs better into the mud and the water will stay in the mud better when you press it to the wall.
Fill a bucket with mud and, standing about 2 feet from the desired area; wet it again with a fine spray. Stop wetting as soon as you see rivulets forming on the wall.
Then pick up some mud in your hand and throw it at the wall. This takes the bubbles out of it and has the added advantage of separating the small stones in the mix which tend to fall to the ground.
Take a small glob to begin with, about the size of a hand ball or less. Aim carefully for your crevice or crack. Throw a couple of globs where you wish to repair and then immediately smooth out the mixture by pressing and smoothing. Press hard. The extra water (if any) in the mix will run off and you will get a better bond if you really force the new stuff into the wetted old stuff. Keep the wall moistened. You can tell if it is too dry by noticing when new globs tend to roll slightly at the top as if they were going to roll off the wall when you throw the glob against the wall. When you see this you might just as well go get the host right away because nothing you put on too dry will stay on over more than just a few days.
It is important when you are patching to feather the new mud into the old. Even if everything (including yourself) is equally wet the patch will not hold unless you draw your trowel from the center out in all directions while pressing hard.
Some of the instructions may sound silly but believe me they have been learned by an infinity of trial and error.
Take heed all ye who enter here.
The day after you have patched, spray the area with a light water jet to re-wet it. The cracks which formed in your patch are a natural result of the drying process. To minimize cracks you can keep the patch moist for a few days while it is drying so the drying time will be slowed down and the cracks minimized.
For bigger repairs we found that making mud bricks which were allowed to dry in hot sun for a week before use helped to keep the cracking to a minimum. A mud brick although dry will bond fairly well to mud mortar and the moisture absorbs both into the air and into the dry brick. Thus the cracks – if any – are small.
In order to use mud bricks however, you need to have a flat spot to stand the brick on the wall where gravity will not defeat your purpose. No matter how you try you can’t (and shouldn’t try to) make a mud brick stand on a vertical wall. Make a niche – even if it means digging a small hole for it. If the brick won’t stand in the niche dry it probably won’t stay put wet either.
Making mud bricks and repairing a mud wall can be fun but you need to understand the nature of the material you are dealing with.
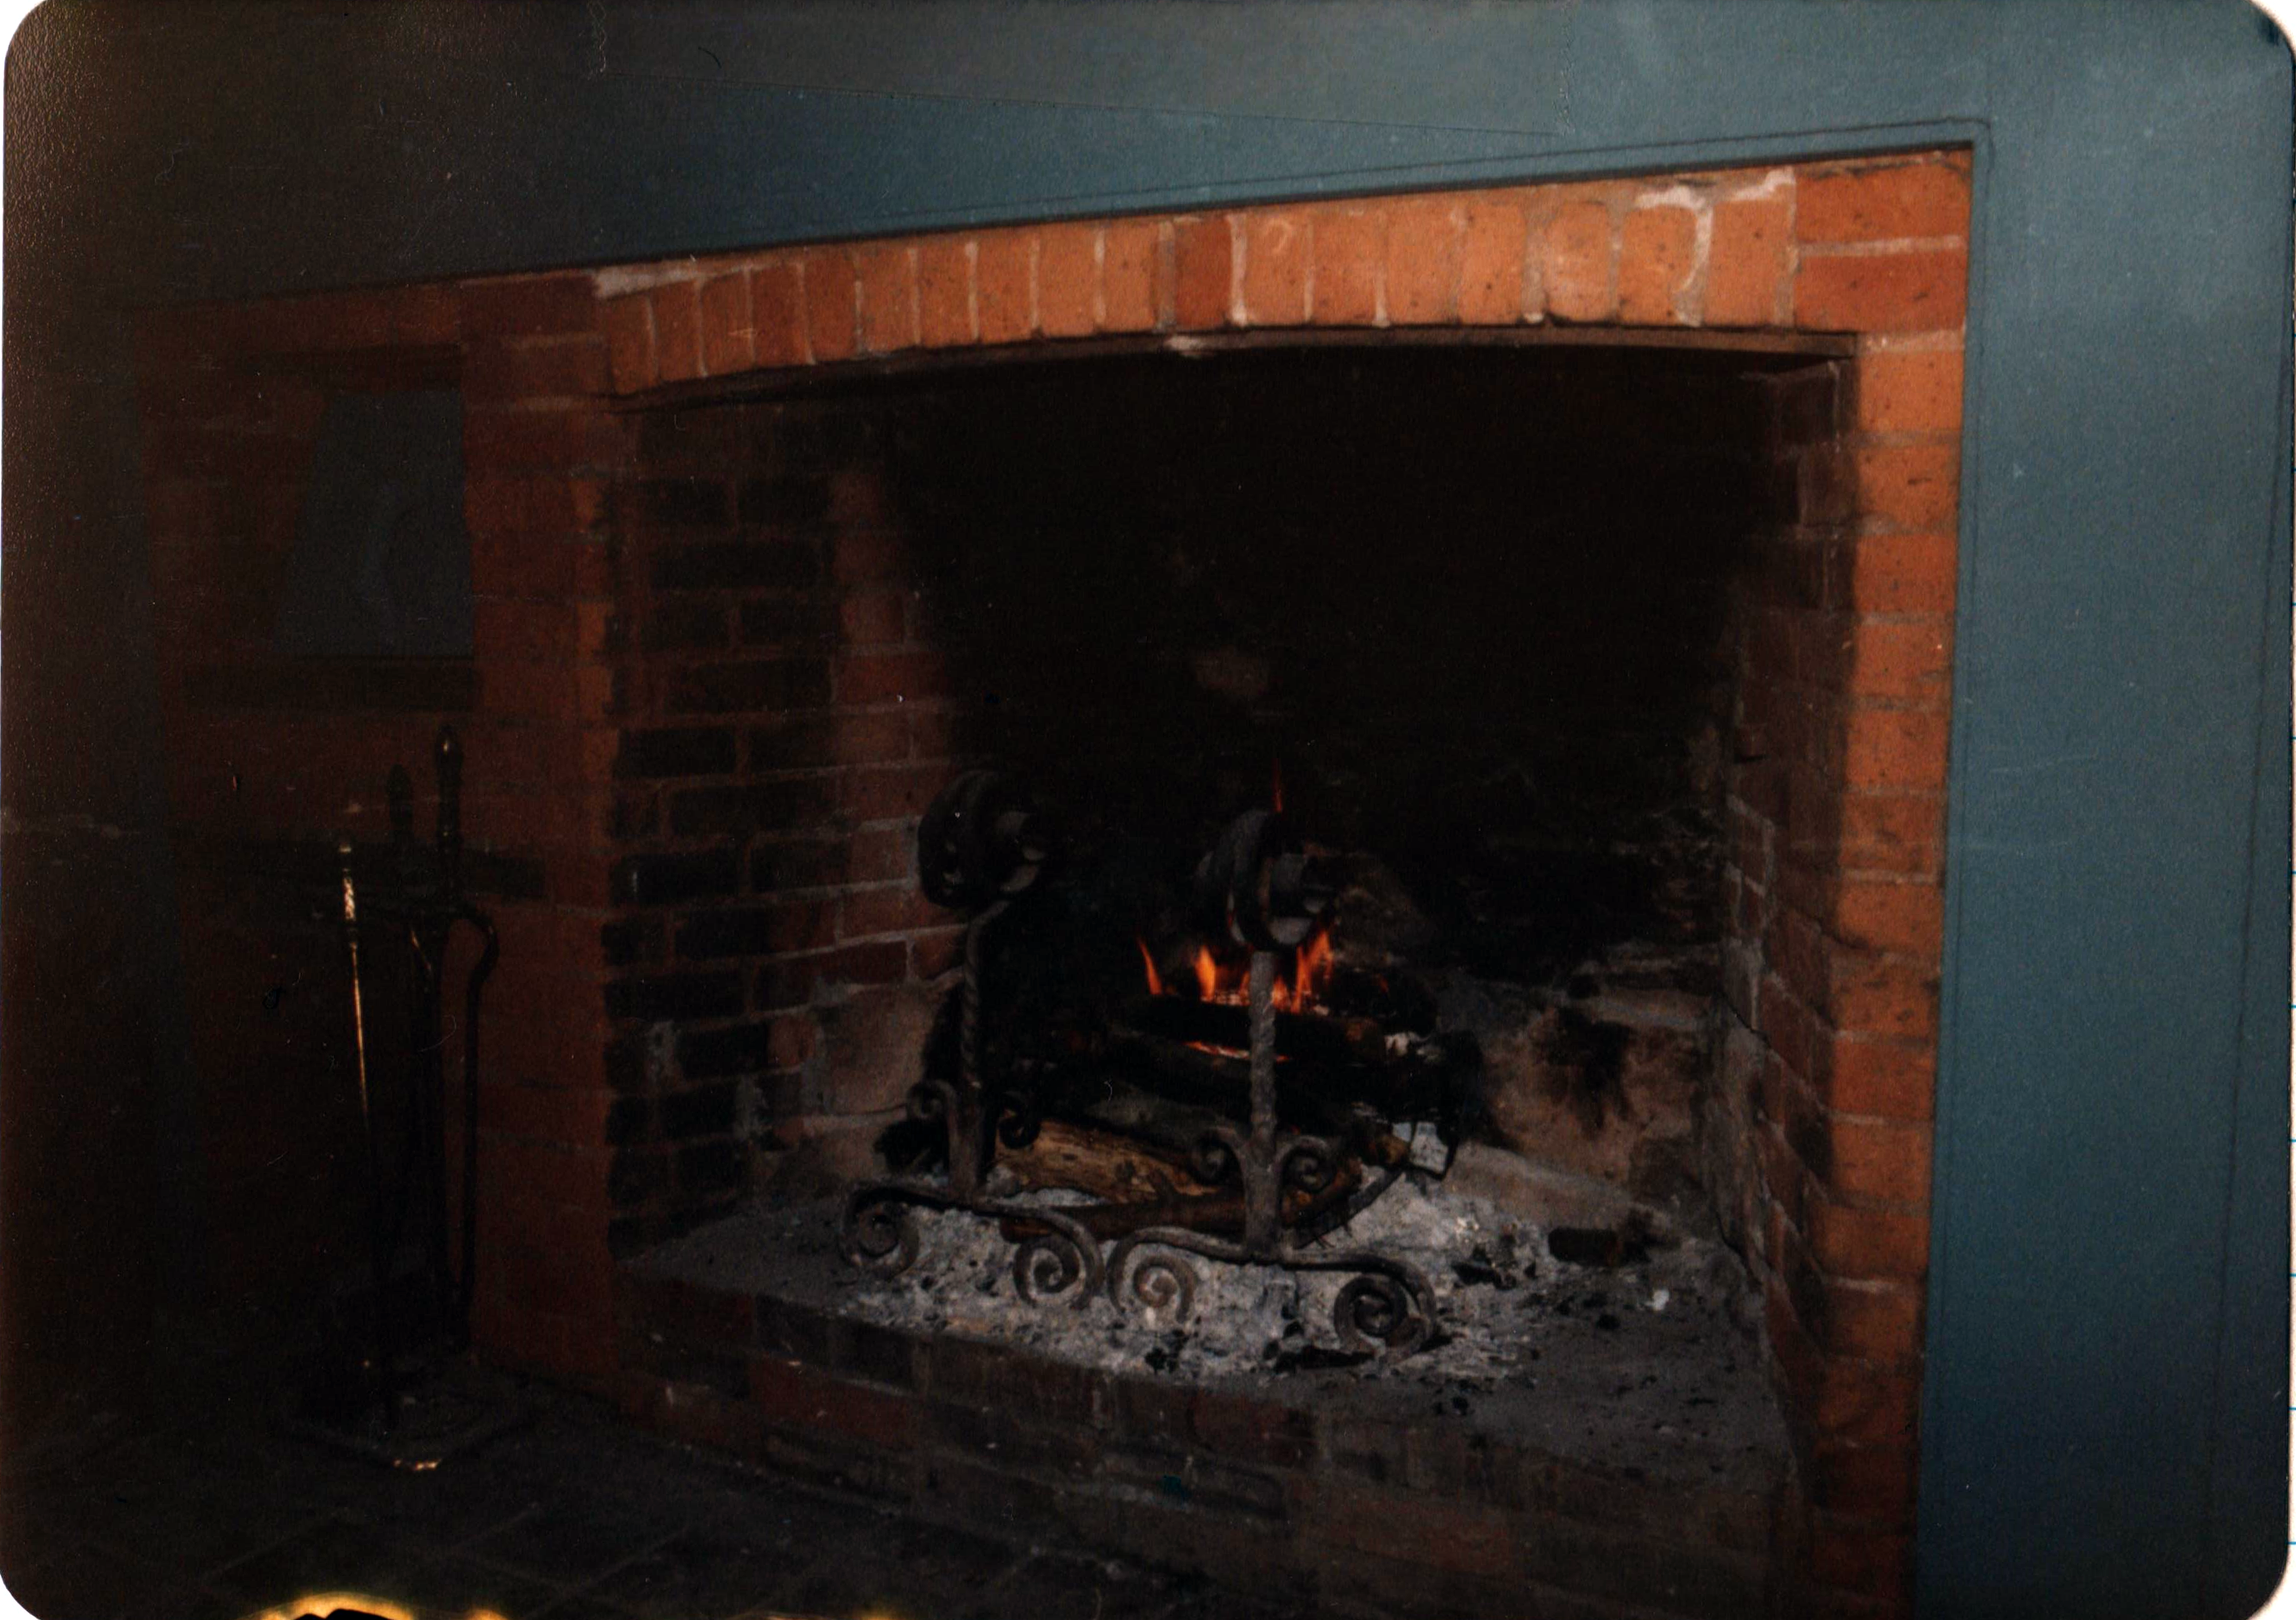
While we were putting so much mud on the wall we dug up a lot of pottery and other bits of stuff. The whole collection should be in the cabinet over the living room fireplace. Some of these pottery shards are undoubtedly old – perhaps early nineteenth century but you can’t help but think sometimes that you are looking at an early example of Duz Box China. I don’t know enough about China to separate one from the other so I saved everything in hopes that someone with this special wisdom would pick out the good from the bad.
In addition to some very plain pieces there were some with a beautiful cobalt blue glaze. The glaze is frequently discolored like wood stove isinglass because of being underground for so long. We found one early medicine bottle recently but most of the glass looked like more medicine bottles only broken.
One day we unearthed a half of the bowl of a clay pipe. This caught my attention because I have always liked these fragile pipe smoking devices. I had only heard of their use in inns prior to this and I was delighted to find something domestic beside broken glass and pottery.
 This picture is of Archie Rinehold who lived in the house during the depression – the 1930’s. He now lives at 567 Ontario Drive, Ontario, NY, 14519. (315) 524- 9731.
On the second floor about 30 inches off the floor on one of the plaster walls you will find the penciled inscription “Archie Rinehold and Eileen B[unreadable]”. Archie stopped by today to explain that when he was eleven Eileen was an early flame. He promised to find pictures of the house in the thirties, which should be very interesting. He showed me where the wood pile used to be, where the pig trough was, where the outhouse was, and where (he thought) the well was during his stay.
There was still a winter and summer kitchen then and the house had no toilets nor electricity. There was a cistern pump to the kitchen sink and oil lamps all around. He recalls 3 long(?) Oak brand pot belly stoves – one in each room downstairs and upstairs. The flue hole into the chimney above each fireplace is still visible. Archie was delighted to see the old place being restored.
He said his family farmed a few acres but his dad worked for Lawless Paper then and paid them rent basically just for the house. There was about 100 acres to the house then but these were tenant farmed by the guy who worked the farm across the road. Archie said his name was something like Harmen.
Archie said that in his time there were 4 bedrooms and a foyer in front(?) to the fireplace upstairs and one large kitchen – actually a summer kitchen on the east wall and a winter kitchen on the north wall. The other room downstairs had already been separated into two rooms by Archie’s time. This was mom and dad’s bedroom (in the SE corner by the current bookshelves). It is hard to say when that wall was installed but it certainly wasn’t original judging by the floor and ceiling markings and the materials it was made of. The plaster in that wall was plasterboard – older than the plasterboard on the walls which we removed and assumed were installed in 1940 by Brown Brothers and yet newer than the original walls, examples of which survive upstairs on either side of the fireplace. Archie may yet tell us much about this house.
I got a letter from a girl at the National Trust for Historic Preservation in Washington. She saw the Times Union article somehow and wrote to tell us of another rammed earth house in Maryland owned by state senator Wm Goodman and family. She ends her letter “Good luck with your plans. You are doing something very important!”. Of course she’s right but right now I wish the task were a little less strenuous.
At the end of this entry, there are several pages of photos -- all of which are in the photos section of the website
